Create memory-keeping pages by dedicating specific sections to capture meaningful moments alongside your regular planning. Add one photo per month using mini printers, write brief summaries of achievements, and include handwritten notes about special events. Use colour-coding to categorise different memory types, incorporate gratitude prompts, and save authentic ephemera like ticket stubs. This changes your planner from a simple scheduling tool into a personal archive that grows more precious over time, and there’s much more you can explore.
Countless planners sit abandoned after January, filled with good intentions but lacking the individual touch that transforms empty pages into treasured keepsakes. Memory-keeping pages bridge this gap, changing your planner from a simple scheduling tool into a meaningful record of your life’s moments.
Transform empty planner pages into treasured keepsakes by adding the individual touch that bridges scheduling with meaningful life documentation.
Start with photo integration using the one-photo-per-month approach. You’ll capture monthly highlights without overwhelming your spreads, trimming photos to fit layout constraints.
Mini printers become your best friend here—they produce small photos perfect for planner pages. Combine these images with handwritten notes or stickers for context, and adjust sizes to accommodate your existing layout. The key is incorporating photos alongside event descriptions or goal tracking rather than treating them as separate elements.
Monthly summary spreads deserve dedicated space in your planner. You’ll document events, achievements, and goal progress updates whilst adding photos to illustrate key experiences.
Use prompts like “Best moment this month” to capture meaningful reflections. Don’t separate memory-keeping from traditional planner elements—combine them with your to-do lists and appointments for a cohesive system.
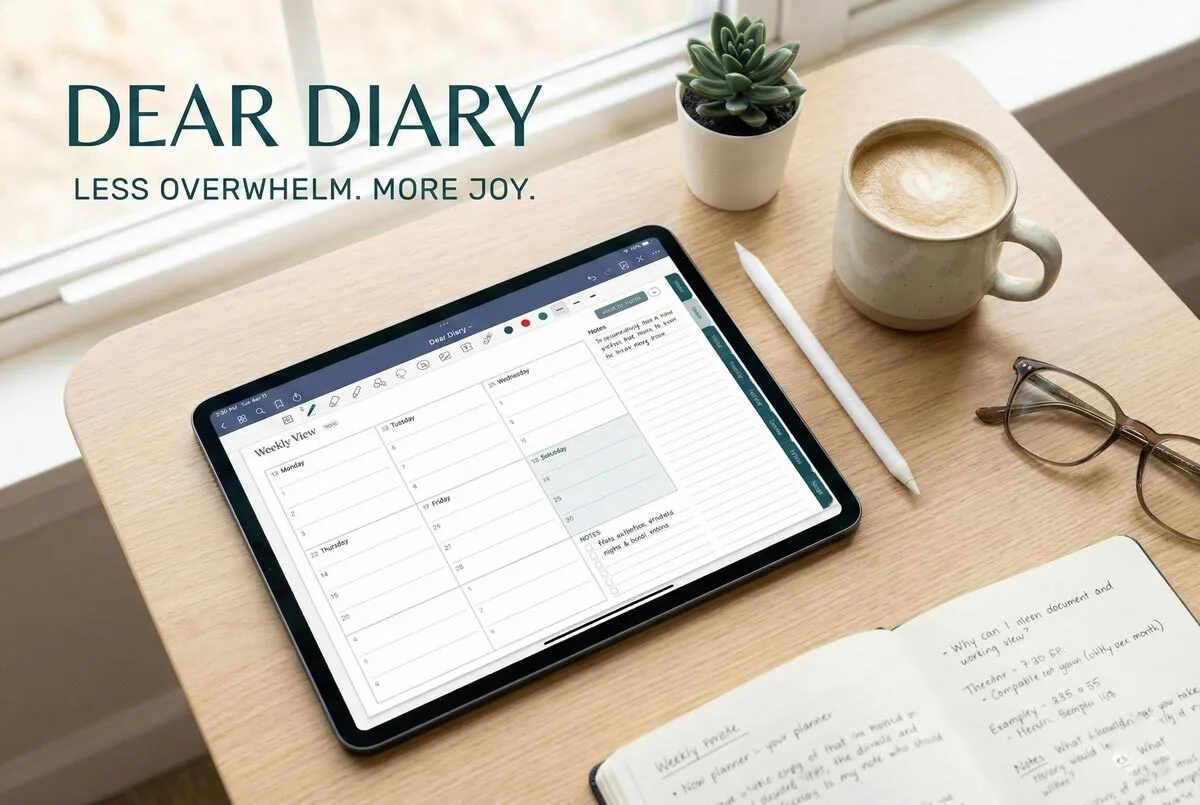
Vertical planner layouts offer condensed weekly documentation that’s both practical and visually appealing. Focus on one week per double-page spread, placing photos above or beside dated calendar blocks.
Minimalistic designs prevent overwhelming the space, whilst brief captions or bullet points maintain simplicity without sacrificing substance. Many teachers find that using attendance registers as inspiration helps create consistent daily documentation formats that track both professional and personal milestones.
Adapt Project 365 concepts without strict daily requirements. Create calendar grids with daily photo slots, adjusting intensity during busy weeks. Pre-printed templates speed up setup during hectic months, and combining photos with brief descriptions tells complete stories.
Focus on thematic consistency—perhaps documenting seasonal changes or daily coffee moments.
Themed memory spreads add character to your documentation. Design pages around monthly playlists using album covers to convey mood and preferences. Create “Top 10” lists for films, books, or boerewors recipes you’ve experienced.
Document binge-watched series with episode highlights, and include quotations or lyrics that resonated. Colour-coding categorises memory types effectively. Travellers notebooks offer portable format options for documenting memories when you’re away from your main planner.
Streamline your workflow with practical systems. Pre-print calendar grids during calm periods for use during busy times. This intentional approach emphasises meaningful embellishments rather than overwhelming your spreads with excessive printed paper and cutouts.
Dedicate specific spreads for “currently…” lists you can update monthly. Monthly overview spreads with double-page layouts provide excellent foundations for memory documentation alongside your regular planning activities. Most importantly, postpone detailed documentation until after each month ends—this prevents overwhelm and maintains consistency.
Embellishments customise your spreads beyond basic documentation. Add doodles, hashtags, or sketches alongside your photos. Use wet glue to secure photos and embellishments, ensuring they stay firmly attached whilst maintaining your layout’s visual appeal.
Location-based stickers featuring Table Mountain or Kruger Park and seasonal graphics provide context, whilst cinema tickets and Wimpy receipts create authentic ephemera collections. Experiment with washi tape or overlapping elements for layered designs. Digital planners provide unlimited customisation options that allow you to duplicate and rearrange your memory-keeping layouts as needed.
Consistency ties everything together. Maintain unified colour schemes or icon sets across diverse memory types. This creates visual harmony whilst allowing individual months to reflect their unique character. Remember to include your special occasions in your memory pages to ensure important dates and celebrations don’t get forgotten.
Memory-keeping pages transform planners from forgotten January casualties into year-long companions. They encourage personal reflection by helping you process experiences and create deeper emotional connections to your daily life. Include daily gratitude prompts in your memory pages to cultivate a positive mindset and enhance your overall well-being. You’re not just scheduling appointments—you’re creating a personal archive that’ll mean more with each passing year.
Frequently Asked Questions
What Supplies Do I Need to Start Memory-Keeping in My Planner?
You’ll need photo protectors, a compact printer, adhesive tape runners, colourful pens, and decorative elements like washi tape. Start with basic page protectors and a reliable adhesive before adding embellishments for customised memory pages.
How Much Time Should I Dedicate to Memory-Keeping Each Week?
You’ll want to dedicate 20-30 minutes weekly to memory-keeping. Schedule this during Sunday evenings or after bedtime when you’re focussed. Start small and adjust based on your lifestyle and energy levels.
Can I Add Memory Pages to Any Type of Planner?
You can modify any planner for memory-keeping regardless of its original design. Choose one that matches your functional needs and aesthetic preferences, since enjoying your planner encourages consistent long-term memory-keeping habits.
Should I Write Memories Immediately or Can I Add Them Later?
You can do both effectively. Write key moments immediately using quick bullet points or symbols to capture authentic emotions, then expand those notes later during dedicated batching sessions for detailed storytelling.
How Do I Protect Memory Pages From Damage or Fading?
You’ll protect memory pages by using lightfast pens, storing your planner away from direct sunlight, applying photo-safe adhesives, and handling pages by their edges to prevent oils from damaging materials.